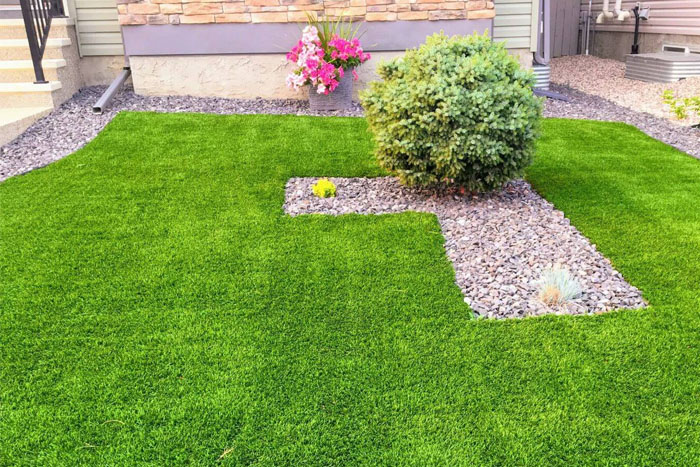
Are there areas in your backyard that look out of place because of dry or barren spots? Are there patches around your house that you want to cover up effectively so that it improves the overall aesthetic of your home?
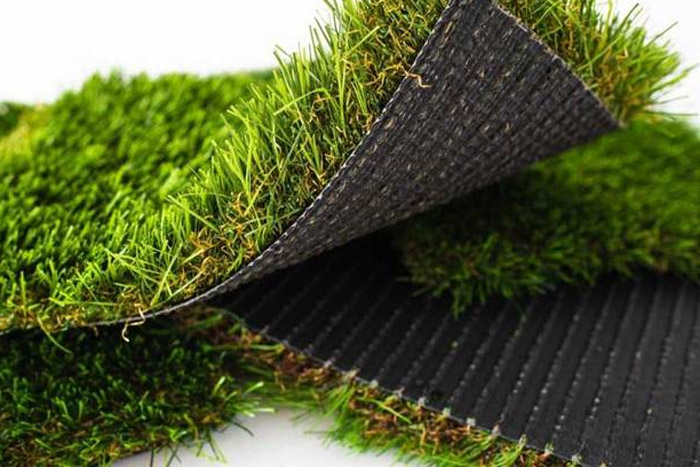
Artificial grass can be your solution when it comes to this problem. Artificial grass installation is not a complicated process, but you do have to keep some things in mind before you install it yourself.
In this article, we will go over how to install artificial grass on dirt, the tips you need to keep in mind, the proper procedure, and other things to consider when you’re installing artificial grass.
Table of Contents
Why Choose Artificial Grass

Installing artificial grass instead of using grass seed can have a lot of pros when it comes to covering up spots and patches in your lawn. Although the initial cost will be higher, the grass will pay for itself in no time because of the money and effort saved over time.
Growth: Some parts of your yard might have dried out, have a high concentration of harmful elements, or just in general, not capable of growing grass. This is not a problem with artificial grass, as you can install it anywhere you want.
Looks: While natural grass has its own benefits when it comes to looks, there is a lot of maintenance and extra supplements that go into making it look lush and healthy all the time. This is not a problem with artificial grass, as it will manage to look great all the time.
Maintenance and watering: Natural grass needs a lot of watering and maintenance to keep it in its best shape. You will save up on water costs, fertilizer cost, and other expenses if you choose to go for artificial grass.
Unwanted growth: While natural grass is prone to weeds, pests, and other harmful natural aspects, you do not have to worry about any of these problems with artificial grass.
Considering all these benefits of artificial grass over natural grass, it is a good idea to set up an artificial lawn in your yard to make it look and feel better and save you time, money, and energy in the long run.
If you’ve decided to set up an artificial lawn, the next section talks about the steps you need to take to install it, yourself, at home.
Bestseller of Artificial Grass
Setting Up an Artificial Lawn

It can get expensive to get professional services when you’re setting up artificial grass around your house. If you follow the right steps, it is not too complicated or difficult to set up your lawn in the right way. If you follow the directions mentioned below, your synthetic turf should be ready in no time.
Step 1:
Clear the area. If you have a barren spot of dirt in your yard and you want to set up a proper artificial turf on it, you cannot just start by laying a mat across it. The entire turf needs to be cleaned up and made even.
Step 2:
Once the area is cleared up, dig up the soil in the affected spotted or patched area. You need to dig up the soil about two to three inches deep to ensure that the grass is level with the rest of the yard. Make sure that you also measure how many square feet of artificial grass you will need, as the turf on your lawn will be set accordingly.
Step 3:
Lay down a plastic sheet in the area that you have dug up. As your new lawn is going to be artificial, it will not need nutrients from the soil to grow. This will also act as a weed barrier for the turf, making sure that nothing from the soil grows up and makes your lawn uneven.
Step 4:
Once the weed barrier is in place, make sure that it stays there by adding a layer of sand or rocks on it. Sand is a better alternative, as you will have a more even base to mount your turf on. The top surface of the plastic should have enough weight on it to not let anything grow.
Besides this, it will also act like a proper drainage system. Artificial turf comes with a permeable rubber base, and the water poured on it will need an outlet that these base materials will provide.
Step 5:
Once you’ve added rocks or sand on top of the plastic sheet, make sure that the top surface of the base is level. This is an important part of the installation process, as this is the layer on which the turf will go.
To make sure the turf is level, you can use a wooden block or a ruler and slide it across the length of the base. As the pieces of turf will be mounted on this base, this step needs to be taken care of with utmost precision.
Step 6 (Optional):
If you’re buying a thick and soft type of artificial grass, you do not need to do this step. However, you have the option of using a sponge or some similar shock absorbing material to make the area feel better for sitting or for when the kids are playing.
Step 7:
There are multiple ways to fulfil this project successfully, and that means that your grass should be fitted properly into the ground. The easier way to make it stick is to use nails around the edges, fixing it firmly to the ground. However, if you have kids or pets who will be playing in this area, this might not be the safest option.

A more feasible way is to put down a layer of adhesive on top of your base and then lay down the strips of turf on top of them. For this step, you need to first know the exact size and shape of the turf that you want to fit in. We will discuss how to do this in the next step.
Step 8:
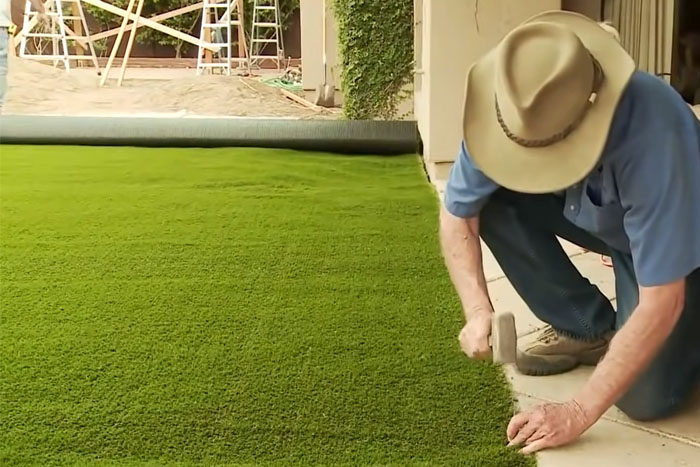
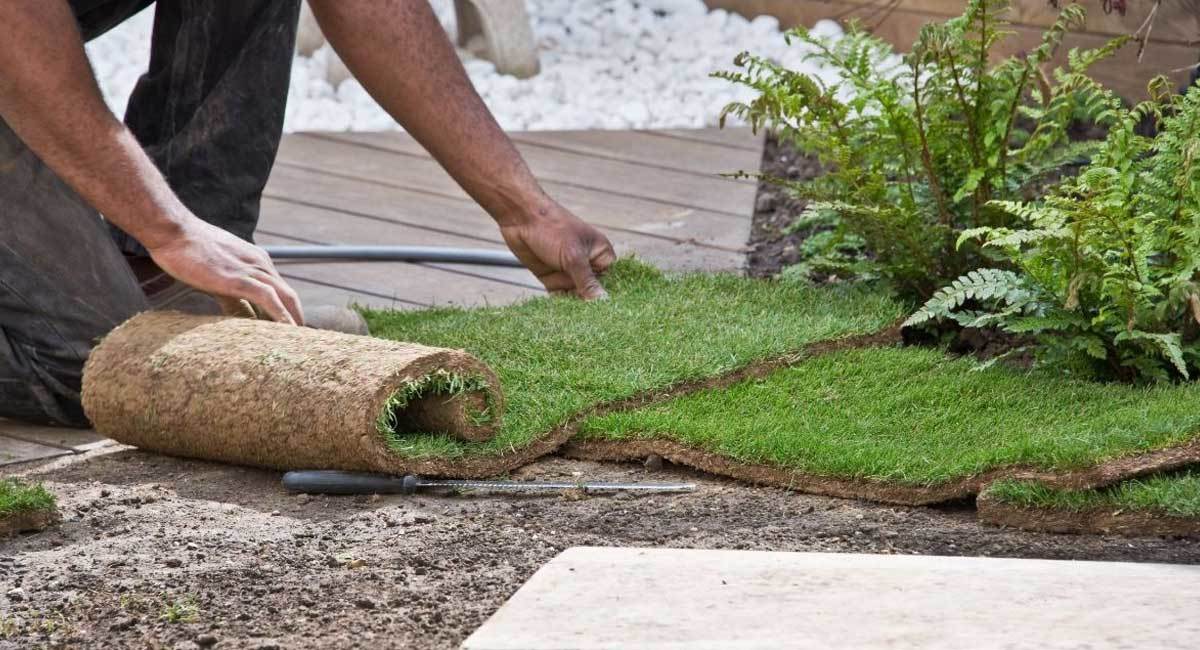
Once your base is completed, the next step is to lay down the artificial grass turf on top of it. The perimeter of the ground that needs to be covered should be taken into consideration before this step.
Start with one end of the yard and then continue laying the turf along the ground as needed. Make sure that it fits properly and comfortably into the area before you start cutting, as having the artificial turf in one piece will make your garden a lot better looking and natural than putting together several different pieces.
Once you have the shape and size of the affected area sorted, you can start laying down the grass while using the adhesive. Another option you can go for is to use double-sided adhesive tape which is made specifically for artificial turfs.
Step 9:
Once your turf is in place, the next thing you need to do is make sure that it’s sturdy. This step is an important one, as you do not want it coming out in places. This will not only make it less attractive to look at, it can also pose a danger for people tripping over it. For this reason, make sure you stomp the whole area properly to ensure that no part of it is coming off and everything fits perfectly.
Step 10 (Optional):
To ensure that your artificial grass is stable, comfortable, and has a natural feel to it, add a layer of silica sand to the whole area. Make sure that you use the sand evenly throughout the area of the turf.
Silica sand is a helpful tool when it comes to ensuring the stability of your artificial grass. It protects the turf by surrounding the plastic blades of your artificial grass. This also ensures that the blades stay erect and do not fold or get wrinkled over long term use.
And there you go! Your artificial lawn is ready to use. If you have put the turf on a larger area, you can set up a few chairs on it and turn it into a nice patio area, as well. Check out this video on how to install artificial grass on dirt for a more visual experience.
The New Artificial Grass
Final Word
Installing artificial grass on dirt can not only make your landscape more attractive, but can also give your pets and kids a safer and more comfortable place to play and lounge around.
There are a lot of excellent options on the market today for high-quality artificial grasses that you can set up on even and uneven surfaces with the help of nails or adhesives.
Artificial grass has several advantages over real grass, as well, including its looks, the level of comfort, and the amount of maintenance that goes into it. These are the main reasons why people are switching to artificial turfs.
If you enjoyed this article on how to install artificial grass on dirt and you’re interested in similar topics, please feel free to check out our other articles as well!


